Biolizard (Sonic Adventure 2 boss)
From Sonic Retro
| |
Sonic Adventure 2 |
| Bosses |
| Biolizard |
| Biolizard |
|---|
| Game: Sonic Adventure 2 |
| Maximum rings: 28 |
| Hits to defeat: 6 |
| Fought by: Shadow |
| Next form: Finalhazard |

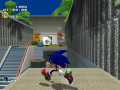
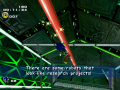
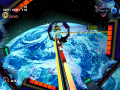
The Biolizard is the first boss of the Last story in Sonic Adventure 2, fought by Shadow the Hedgehog after clearing Cannon's Core.
Contents
Strategy
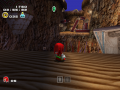
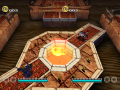
Setting
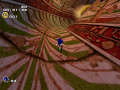
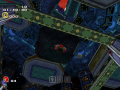
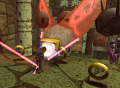
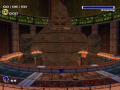
The boss arena is toroid shaped, with the Biolizard sitting in the middle. There are two streams cutting it off in two, one closer to the artificial Master Emerald altar shrine and the other to the pool where Sonic’s Cannon's Core ended at. The former is harmless, but the latter will sweep Shadow off his feet and functions as a bottomless pit of some sort if he doesn’t jump out almost as soon as he touches it. The Biolizard cannot move well so it only shuffles about rotating on its axis. The surface of its skin is designed to be absorb attacks, so using the Homing Attack will have no effect (sometimes it won’t even hurt Shadow, just bounce him off).
Attack patterns
Pattern 1
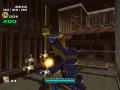
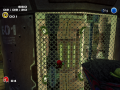
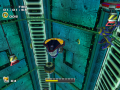
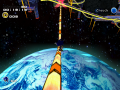
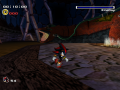
The first attack consists of trying to get closer to Shadow, biting him if he’s closer to its mouth or trying to whack him with its tail, if he moves away from the head too much. Around one half turn the Biolizard tires out and stops to gather its breath. The pipes that run from his mouth to its life support system glow, probably because its draining some energy from there. Shadow can grind these up to reach the glowing top and hit it, as this is the Biolizard’s only weak point. This is all the Biolizard ever does in his first stage while he isn’t hit.
Pattern 2

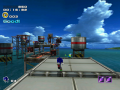
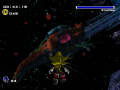
After chasing him a bit some more, the Biolizard will use the energy attack, where it spits homing black matter spheres. It will take Shadow’s height at the moment of spit into consideration, so there are two heights possible, one lower and one higher. Either way, these can be avoided by very quick movement (albeit it doesn’t last), jumping over the lower ones or using the summersault to overcome the higher ones. It always spit eight energy balls, regardless of height and it will nicely wait for Shadow to compose himself if he’s hit before spitting. As this attack ends the Biolizard tires out again and Shadow can grind up the tubes to attack him once more. This pattern is repeated.
Pattern 3

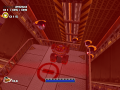
The third attack consists in another chase and another energy attack, but eventually the Biolizard will rear up and use the egg-like attack. The Biolizard creates several pink spheres that are assumed to be the way it reproduces itself and these will float about in a cloud around him, homing on to Shadow one after the other. Shadow can use his own Homing Attack on them to bounce higher and then hit the life support system. This pattern is also repeated.
Pattern 4
The Biolizard will rear up and generate pink spheres once more, but this time it's capable of controling gravity around him (at the very least), so the eggs and Shadow will all float in a disc surface in the same plane of the life support system. The objective is to navigate Shadow through the eggs (they swirl slightly anticlockwise) towards the life support system.
After the six hits, the Biolizard slumps in defeat.
References
| Sonic Adventure 2 / Sonic Adventure 2: Battle | |
|---|---|
|
Main page (SA2B|2012) Manuals (SA2B) Development (SA2B) |
show;hide
2 Player Mode: Mini-games: Dr. Eggman's Robots: GUN Robots: Ghosts: Hero: Dark: Both: Final: Dreamcast Prereleases: SA2B Prereleases: Books:
Music: Songs: "Live & Learn" | "It Doesn't Matter" | "Believe in Myself" | "Unknown from M.E." | "Throw It All Away" | "E.G.G.M.A.N." | "Fly in the Freedom" | "Escape from the City" | "Kick the Rock!" | "A Ghost's Pumpkin Soup" | "Dive into the Mellow" | "Deeper" | "Space Trip Steps" | "Rhythm and Balance" | "The Supernatural" | "For True Story" | "Supporting Me" |