
Difference between revisions of "SAdv3Omni"
From Sonic Retro
BSonirachi (talk | contribs) |
BSonirachi (talk | contribs) m |
||
| Line 65: | Line 65: | ||
{{#vardefine:thumbsize|120px}}{{#vardefine:thumbwidth| }} | {{#vardefine:thumbsize|120px}}{{#vardefine:thumbwidth| }} | ||
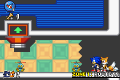
{{OmniThumb|SonicAdvance3 GBA G-merlRoute99.png|G-merl (boss)|G-merl|aligntop=yes}} | {{OmniThumb|SonicAdvance3 GBA G-merlRoute99.png|G-merl (boss)|G-merl|aligntop=yes}} | ||
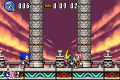
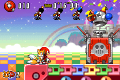
| − | {{OmniThumb|Route 99 Boss.png| | + | {{OmniThumb|Route 99 Boss.png|Egg Hammer 3|aligntop=yes}} |
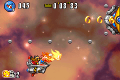
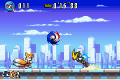
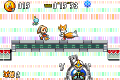
{{OmniThumb|Sunset Hill Boss.png|Eggball No.2|Egg Ball No.2|aligntop=yes}} | {{OmniThumb|Sunset Hill Boss.png|Eggball No.2|Egg Ball No.2|aligntop=yes}} | ||
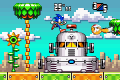
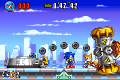
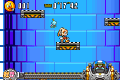
{{OmniThumb|Ocean Base Boss.png|Egg Foot|aligntop=yes}} | {{OmniThumb|Ocean Base Boss.png|Egg Foot|aligntop=yes}} | ||
| Line 73: | Line 73: | ||
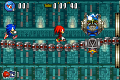
{{OmniThumb|Cyber Track Boss.png|Egg Pinball|aligntop=yes}} | {{OmniThumb|Cyber Track Boss.png|Egg Pinball|aligntop=yes}} | ||
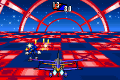
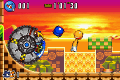
{{OmniThumb|Chaos Angel Boss.png|Egg Gravity|aligntop=yes}} | {{OmniThumb|Chaos Angel Boss.png|Egg Gravity|aligntop=yes}} | ||
| − | {{OmniThumb|Alter Emerald Zone Boss.png| | + | {{OmniThumb|Alter Emerald Zone Boss.png|Hyper Eggrobo|aligntop=yes}} |
{{OmniThumb|Nonagression.png|Ultimate G-merl|aligntop=yes}} | {{OmniThumb|Nonagression.png|Ultimate G-merl|aligntop=yes}} | ||
| icon4=Prereleases | | icon4=Prereleases | ||
Revision as of 14:10, 29 October 2019
| Sonic Advance 3 | |
|---|---|
|
Manuals |
show;hide
Books:
|


Usage
{{SAdv3Omni|#}}
Substitute # with one of the following numbers depending on which type of article you want to use the template:
- Levels (this is used by default and can be left blank)
- Enemies
- Bosses
- Prereleases