Difference between revisions of "Sonic Adventure 2/Hidden content"
From Sonic Retro
Scarred Sun (talk | contribs) |
|||
| Line 6: | Line 6: | ||
!Artwork||Name||Description | !Artwork||Name||Description | ||
|- | |- | ||
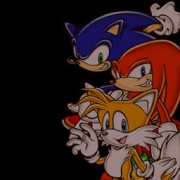
| − | |[[Image: | + | |[[Image:Sa2leftovermode2pvs hero.jpg|180px]] |
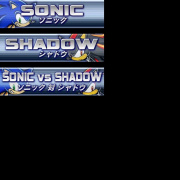
| − | | | + | |2p VS mode graphic |
| − | | | + | |Unused 2PVS menu system texture. |
|- | |- | ||
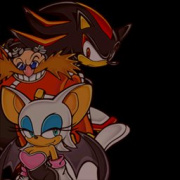
| − | + | |[[Image:Sa2leftovermode2pvs dark.jpg|180px]] | |
| − | |||
| − | |||
| − | |||
| − | |[[Image:Sa2leftovermode2pvs | ||
|2p VS mode graphic | |2p VS mode graphic | ||
|Unused 2PVS menu system texture. | |Unused 2PVS menu system texture. | ||
| Line 21: | Line 17: | ||
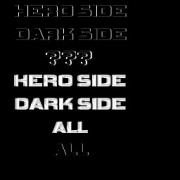
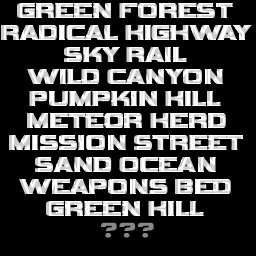
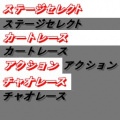
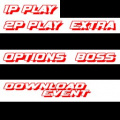
|Text | |Text | ||
|These probably go over the top of the previous graphics to make the menu selection. It seems that ??? was used to cover the menu selection for "All" until it is unlocked. In the final game nothing is shown shown until it is unlocked. | |These probably go over the top of the previous graphics to make the menu selection. It seems that ??? was used to cover the menu selection for "All" until it is unlocked. In the final game nothing is shown shown until it is unlocked. | ||
| − | |||
| − | |||
| − | |||
| − | |||
|- | |- | ||
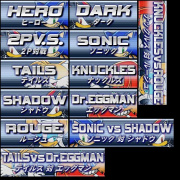
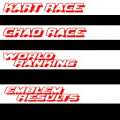
|[[Image:Sa2leftovermodeselect all.jpg|180px]] | |[[Image:Sa2leftovermodeselect all.jpg|180px]] | ||
|Mode Select Graphics | |Mode Select Graphics | ||
|Leftover graphics for a previous mode select menu. | |Leftover graphics for a previous mode select menu. | ||
| − | |||
| − | |||
| − | |||
| − | |||
|} | |} | ||
| Line 41: | Line 29: | ||
A screen displaying a Trial version warning can be accessed. | A screen displaying a Trial version warning can be accessed. | ||
| + | ==Early Sega Logo screen== | ||
| + | [[Image:Sa2beta segalogo l.jpg|320px]] | ||
| − | + | Early Sega Logo screen. | |
| − | |||
| − | |||
| − | |||
| − | |||
| − | |||
| − | |||
| − | |||
| − | |||
| − | |||
| − | |||
| − | |||
| − | |||
| − | |||
| − | |||
==Trial Title Screen== | ==Trial Title Screen== | ||
| Line 63: | Line 39: | ||
Leftover Trial Title screen. | Leftover Trial Title screen. | ||
| − | == | + | ==2p VS Menu== |
| − | [[Image: | + | [[Image:Sa2leftovermode2pvs stgsel e i.jpg]] [[Image:Sa2leftovermode2pvs stgsel e.jpg]] |
| − | + | Text for 2P VS menu system. Green Hill is listed meaning it was probably a 2P VS level at first. | |
| − | ==Early | + | ==Early Menu 1== |
<gallery> | <gallery> | ||
Image:Sa2Emenu01.jpg | Image:Sa2Emenu01.jpg | ||
| Line 81: | Line 57: | ||
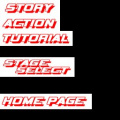
Early menu system in English and Japanese. Note how Playground and Library are listed, but were not a part of the final game. The Black market was also unused in this game, but were used in the updated GameCube port. | Early menu system in English and Japanese. Note how Playground and Library are listed, but were not a part of the final game. The Black market was also unused in this game, but were used in the updated GameCube port. | ||
| + | |||
| + | ==Early Menu 2== | ||
| + | [[Image:Sa2leftovertento menu.jpg|180px]] | ||
| + | |||
| + | This Menu, which was found in demos, had only 3 options and each option lead to a single level each. | ||
| + | |||
| + | ==Early Menu 3== | ||
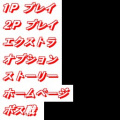
| + | [[Image:Sa2leftovermainmenu button.jpg|180px]] | ||
| + | |||
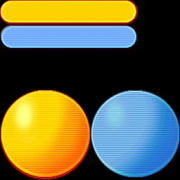
| + | These graphics were used for another menu system. Rather than drawing out the text the text would of been placed on top of these. | ||
| + | |||
| + | ==Trial Screen Ending== | ||
| + | [[Image:Sa2leftovertentoending.jpg|320px]] | ||
| + | |||
| + | A screen which was used in the Trial version in its ending. | ||
| + | |||
| + | ==Lost Tutorial Screens== | ||
| + | [[Image:Sa2leftoverKnuck attack.jpg|frame|May have taught about special moves in multiplayer.]][[Image:Sa2leftoverTails attack.jpg|frame|May have taught about special moves in multiplayer.]][[Image:Sa2leftoverTails melody.jpg|frame|May have talked about the music melody powerup.]][[Image:Sa2but h07.jpg|frame|May have involved picking up Chaos.]][[Image:Sa2leftoverakn h37.jpgframe|Sa2leftoverakn h37.jpgframe]] | ||
| + | |||
| + | Lost Tutorial screens. | ||
==Level Maps== | ==Level Maps== | ||
Revision as of 18:45, 19 May 2009
Contents
Unused Artwork
Special Stage Art
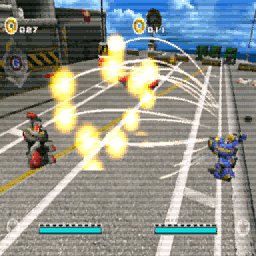
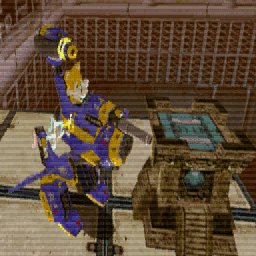
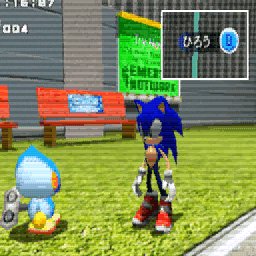
These are various graphics that can be found inside the games disc.
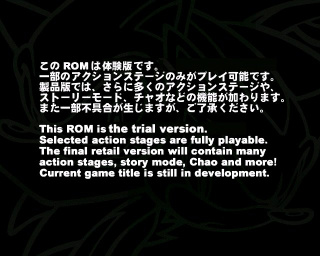
Trial Version screen
A screen displaying a Trial version warning can be accessed.
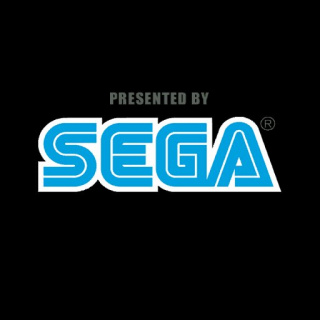
Early Sega Logo screen
Early Sega Logo screen.
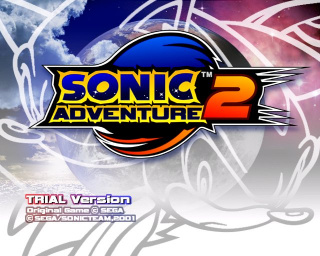
Trial Title Screen
Leftover Trial Title screen.
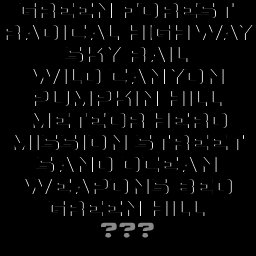
2p VS Menu
Text for 2P VS menu system. Green Hill is listed meaning it was probably a 2P VS level at first.
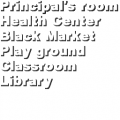
Early Menu 1
Early menu system in English and Japanese. Note how Playground and Library are listed, but were not a part of the final game. The Black market was also unused in this game, but were used in the updated GameCube port.
Early Menu 2
This Menu, which was found in demos, had only 3 options and each option lead to a single level each.
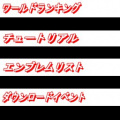
Early Menu 3
These graphics were used for another menu system. Rather than drawing out the text the text would of been placed on top of these.
Trial Screen Ending
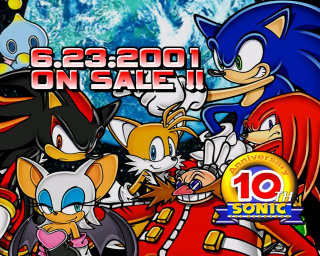
A screen which was used in the Trial version in its ending.
Lost Tutorial Screens
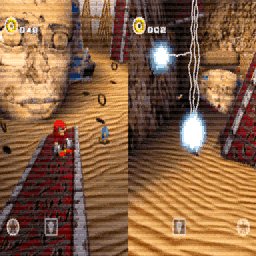
Sa2leftoverakn h37.jpgframeLost Tutorial screens.
Level Maps
- CITY ESCAPE.jpg
City Escape
- COSMICWALL.jpg
Cosmic Wall
- CRAZY.jpg
Crazy
- EGG WEAPON.jpg
Egg Weapon
- ETERNAL ENGINE.jpg
Eternal Engine
- FINALCHASE.jpg
Final Chase
- FINALRUSH.jpg
Final Rush
- GREENFOREST.jpg
Green Forest
- HIGHWAY.jpg
Highway
- LOST.jpg
Lost
- MISSION.jpg
Mission
- SKY.jpg
Sky
- TAILS PRISON.jpg
Tails Prison
- WATER.jpg
Water
- WHITE JUNGLE.jpg
White Jungle
Hidden inside the disc is early maps of various levels. The maps do not 100% match up with the level layout found in the final game.
