- Back to: Sonic the Hedgehog CD (prototype 510)/Comparisons.
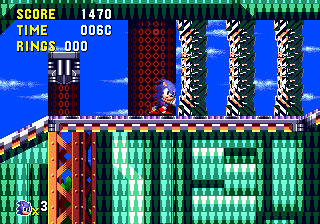
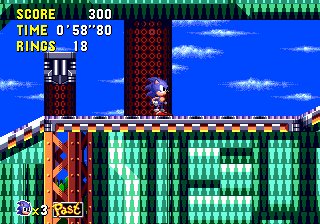
Quartz Quadrant can only be accessed through the level select screen, and is in a noticeably less polished state than previous levels. There are no rings.
Zone 1
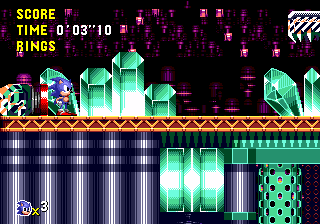
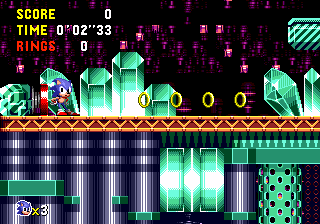
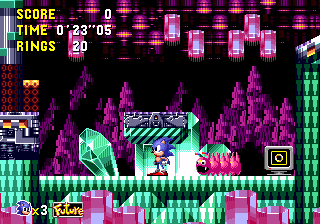
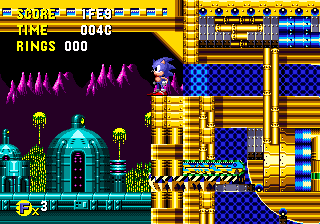
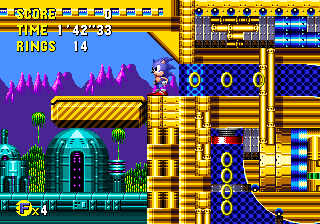
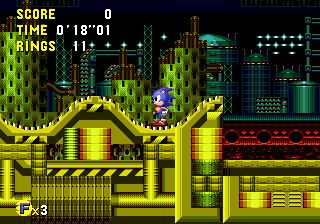
Many objects in Quartz Quardrant have palette issues, including this rock and this platform, which are seen as soon as you enter act 1.
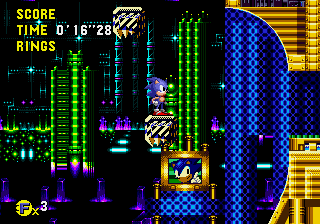
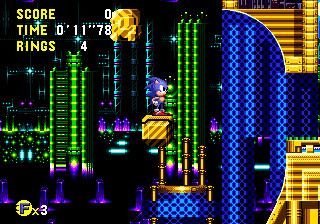
In the good future version of the zone, Sonic appears on a monitor in the background to complement Eggman's appearance in the bad future version. It was removed from the final game for unknown reasons. The 2011 version restores the Sonic monitor, albeit in Act 3 instead.
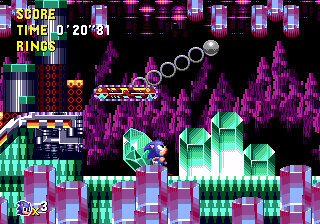
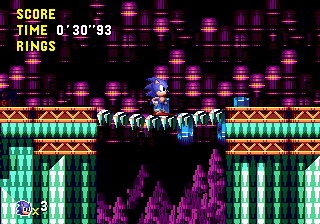
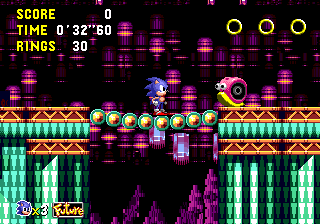
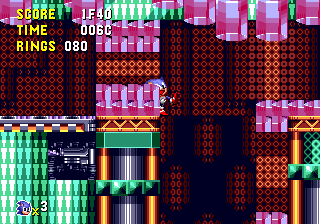
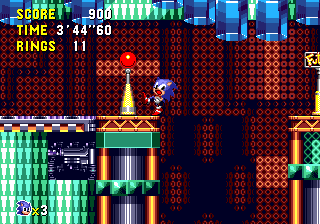
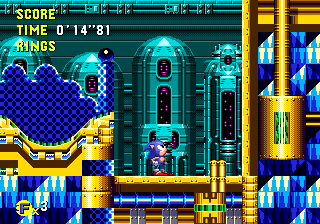
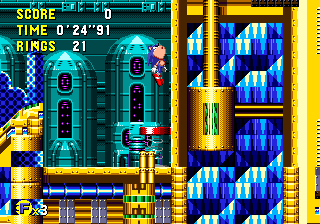
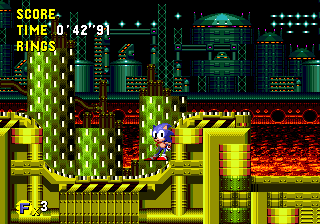
Common to Quartz Quadrant are these swinging platforms with conveyor belts on them. No such object exists in the final game, unless you count its appearance in the PAL Mega-CD manualMedia:SonicCD MCD EU manual.pdf[1].
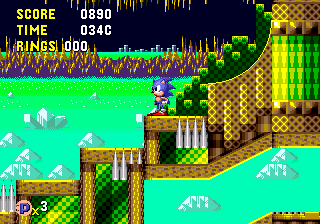
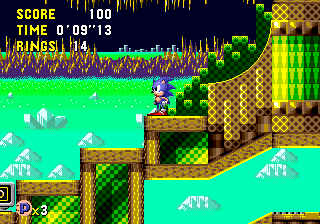
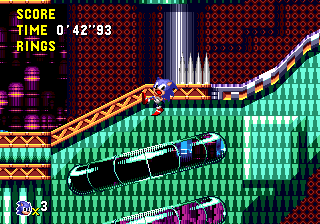
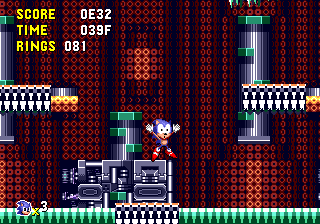
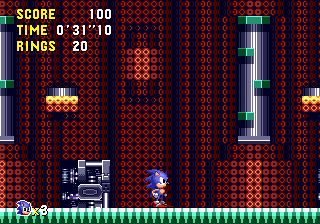
In a time before conveyors, there were moving spikes instead. Most have layering issues, so are drawn on top of the foreground rather than behind it. The final game removes a few of them.
Different graphics are used for bridges.
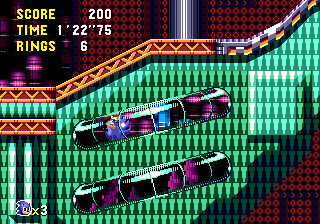
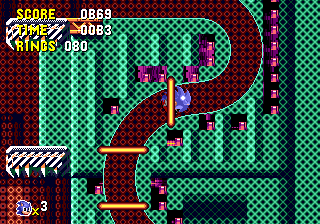
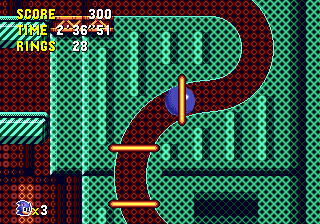
You can't enter these tubes in the 510 prototype, though one in Zone 2 works fine.
All time zones feature these nasty platforms which move in a sine wave motion. Similar objects exist in the future time zones in the final game, but the amplitude is bigger and the objects aren't completely solid. Althoough they can't crush you in the 510 prototype, they can push you through the floor, letting Sonic be killed by the bottom of the screen.
Above the sine wave platforms, sets of blocks that move in a clockwise circle, not dissimilar to the classic enemy patterns in R-Type.
Outside in the good future, the sky is black and the trees are covered in cheese.
These rocky pillars don't exist in the final game, and cannot be broken.
The giant ring is too high to reach, and the signpost is overlaying the foreground.

|
| 510 prototype
|

|
| Final game
|

|
| 510 prototype
|

|
| Final game
|

|
| 510 prototype
|

|
| Final game
|

|
| 510 prototype
|

|
| Final game
|
Zone 2
Act 2 has a few more graphical issues. There are tiles missing from these tunnels.
...and artifacts in this top section.

|
| 510 prototype
|

|
| Final game
|

|
| 510 prototype
|

|
| Final game
|

|
| 510 prototype
|

|
| Final game
|

|
| 510 prototype
|

|
| Final game
|
Zone 3
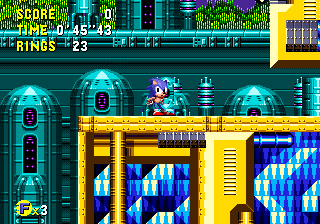
Act 3 takes some negotiating because there aren't enough objects in the level. The only way to get up here is to use a cleverly timed peel-out while standing on the conveyor belt to the left.
There's no point in trying this technique in the bad future - the conveyors are too low.
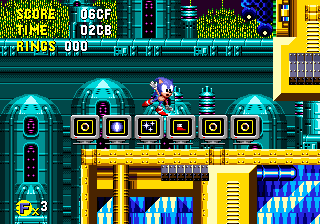
A selection of monitors, possibly to test the boss.
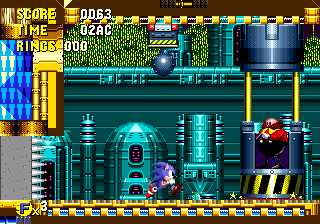
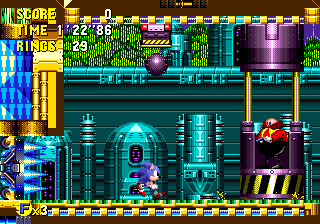
The boss itself is functional, but unpolished. The spikes on the left have a simpler design and in the good future, the conveyor belt animates in reverse.
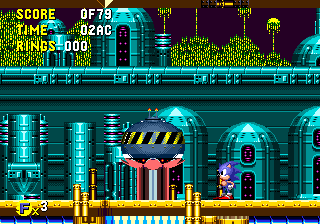
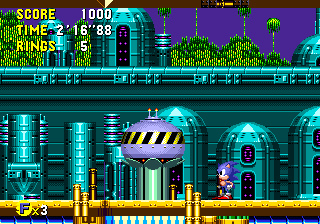
The capsule has palette problems, as does every capsule seen in subsequent zones.

|
| 510 prototype
|

|
| Final game
|

|
| 510 prototype
|

|
| Final game
|
Graphics
The flowers in the 510 prototype are unique to each zone. However, starting from Quartz Quadrant, the flowers use the wrong palettes.
References
