
Fangame How-to:SonicGDK/Building a map
From Sonic Retro
(Original guide by Xaklse)
| |
This article is a work in progress. Its content and location may change completely and frequently until this notice is removed. |
Now that you have installed SonicGDK, you can create actual game levels, also known as maps in Unreal.
Contents
Editor layout
Run the UDK Editor and close all the windows that appear. Create a new blank map (File>New...>Blank Map); the editor may be a bit daunting at first, but you don't have to learn all the functions associated to every button, so check the following pictures to get started. The screen space that contains the black void with the blue grid and the red cube is called viewport.
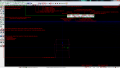
UDK Editor
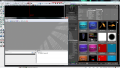
Content browser & Kismet windows
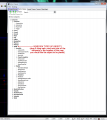
Actor classes


Environment stuff
blahblah
How do I enable "Sonic Physics mode" in my map?
- To enable "Sonic Physics mode" on a static mesh, use the "Add SGDK StaticMesh" option (select the StaticMesh in the content browser, right-click in the level editor window).
- To enable "Sonic Physics mode" on CSGs or terrain, use SonicPhysicsVolumes to encompass the walkable surfaces.
Sonic placement & configuration
blahblah
Checkpoints & goal
blahblah
Enemies
blahblah
Cameras
blahblah
Paths
blahblah