- Back to: Sonic the Hedgehog 2 (Simon Wai prototype)/Comparisons.
Emerald Hill Zone (called Green Hill Zone in this prototype) is the fourth and final level that can be accessed through normal play, though this is to be expected as it also exists in the earlier Nick Arcade prototype. While perfectly playable in the older build, elements of the stage have been refined, and would continue to be until release.
Act 1
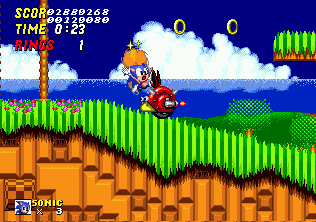
The snail enemies still exist in this build, although at least in debug mode they can't kill you this time. Its art offset is located at $7C514. (Nemesis compression, 26 blocks).
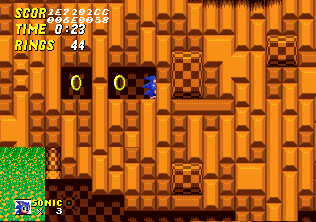
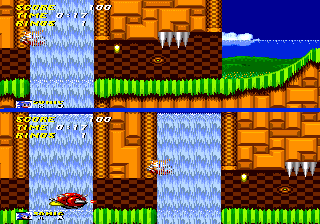
There are a few tunnels leading to dead ends in this build. In the final, for example, this tunnel leads you to a 1-up within a waterfall, whereas here it goes nowhere.

|
| Simon Wai prototype
|

|
| Final game
|
Overall act 1 is virtually the same as the final game, just with extra items and rings added on the upper levels and an extra floating platform.
Act 2
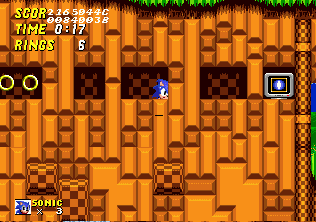
Another blocked tunnel. You can only get this shield by using debug mode.
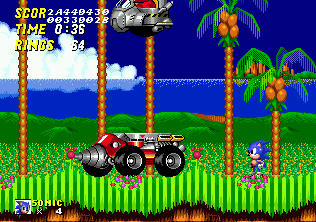
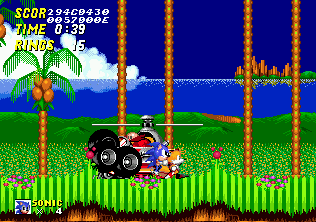
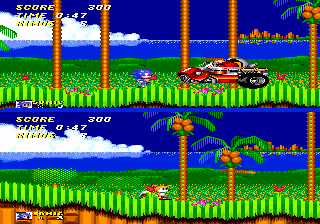
Eggman arrives by decending onto his buggy, much like the Nick Arcade prototype.
The boss has some slight differences in its behavior in this build:
- If Robotnik was facing left, he will not turn around as he escapes to the right.
- The boss does not turn as early as he does in CENSOR Prototype and later: he goes all the way to the end of the road and back as opposed to halfway.
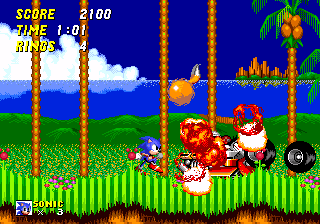
But defeat him this time and there are no explosions or sound effects. The wheels just roll away, while an emotionless Eggman takes to the skies.
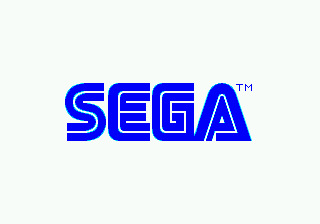
Once Eggman is beaten, the game resets, except this time it shows the Sega screen (which is identical to the version in Sonic 1). Boot up the game normally and this part is skipped.

|
| Simon Wai prototype
|

|
| Final game
|
Act 2 is also very similar to the final, save for additions on the upper levels.
2-Player mode
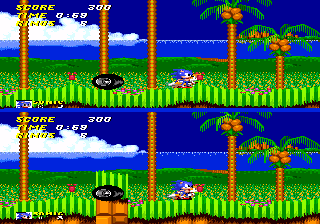
Eggman spawns in 2-player mode, however unlike the Nick Arcade prototype, he's not not a garbled mess.
He does, however, have the habit of turning into a lone wheel, meaning he can't be defeated.
Leave the game alone on the title screen, and Green Hill Zone in 2-player mode appears as the second part of the rolling demo. However, despite the different level layout, Sonic and Tails still behave as they did in the Nick Arcade prototype, leading to unflattering results. After jumping around aimlessly for a bit, Sonic hits a set of spikes, loses the pair's rings, and Tails is killed by a snail enemy. Tails then awkwardly spawns further along the level, neatly drawing attention to various unaddressed bugs in the game.
References


