Use SonMapEd/Part 2
From Sonic Retro
(Original guide by Chimpo)
Alright so last time we edited one of Sonic's wait animations. Now if you're using SonMapED, the reason is most obviously because you're not looking for a tile editor, you're looking for a mapping editor. And this is what we're about to get our hands into, so now it comes and here it goes, Chimpo is here again. Nothing's gonna stop me it's SonMapED Part 2.
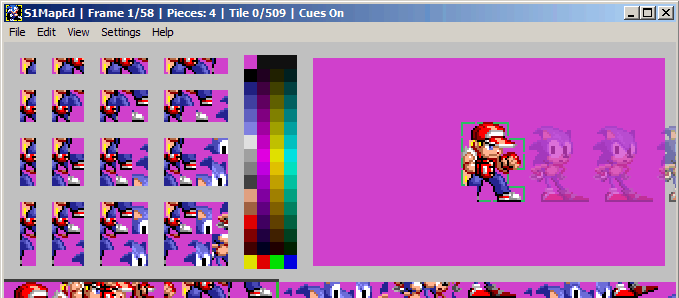
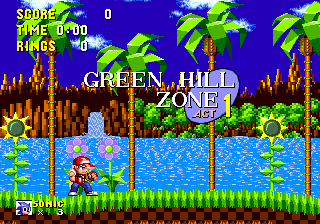
So reload all the uncompressed tiles, mappings, DPLCs, and palettes like last time and make sure you set your transparent color. Go to Sonic's stand pose and export the image to end up with the one above. Lets say you don't want boring old Sonic as the star in your hack anymore, lets say you want something new, someone fresh. Lets say you want....
Terry Bogard?! So here we have a sprite from SNK vs. Capcom: Match of the Millennium from the Neo Geo Pocket Color. Obviously it's not the exact sprite since it's in color. I edited it to use Sonic's palette and of course, use more than 3 shades of colors. I edited this separately and just copy pasted it over the Sonic exported file and filled the rest with the transparent color. Lets save the image and get ready to import. Before we do that though, I want to bring up a very useful feature in SonMapED that you should be using a lot.
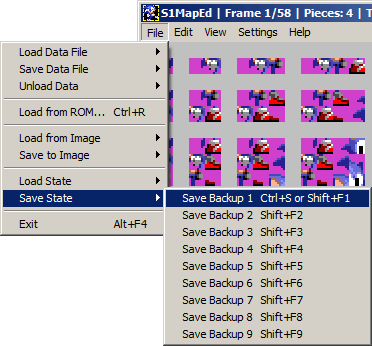
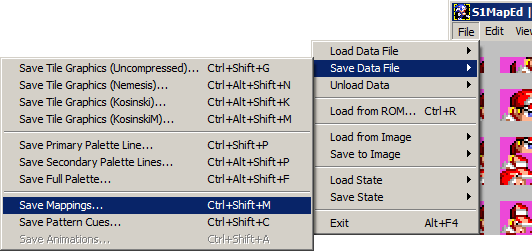
Hit File -> Save State and save on any of the 9 states available, or just hold Ctrl+Shift and hit one of the F# keys. This handy feature saves everything that's loaded in that exact moment, you know just like emulators only this will save you hours of work in the event you messed up. Remember this, cherish it, love it. You will be using it a lot and it will save your life. Go ahead and save and lets move on. Go ahead and import the file with the Terry edit over Sonic's stand frame and you should end up with....
This? Uh oh, looks like you messed up! The image itself imported fine, but there are parts missing. On top of that, if you go over to the look up sprite...
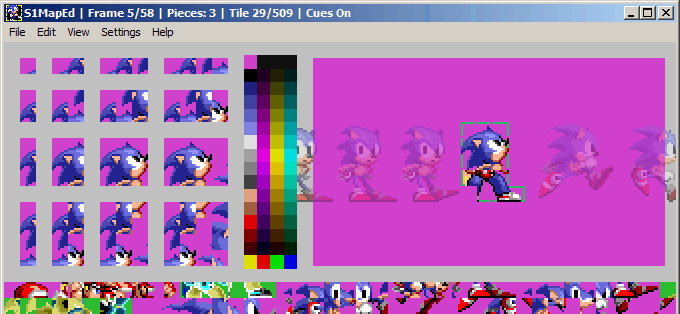
...You'll notice that too has been edited, because much like the wait sprite that too uses the same tiles. Oh dear, whatever shall we do?
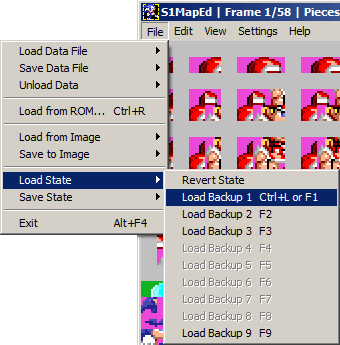
It's a good thing we saved before importing (If you didn't, you're not paying attention). Go ahead and reload the previous state to revert all changes you've made during this great catastrophuck by going to File -> Load State and selecting the state you saved in or hitting the appropriate F# key.
So now everything is back to normal, but now what? You want to edit the stand sprite, but changes are you don't want the look up sprite to share the same tiles as the stand sprite. And how do you modify the stand frame so that the sprite imports correctly? It's all very simple.
Now there are numerous ways to do this. You may use some of the existing unused mapped art to fix your mappings so that your sprite imports correctly, you might rearrange the mappings and tiles you already have so that it imports correctly, or some other stuff. Now all of these methods work, I find them to be more time consuming and overall, very messy, as it leaves your new imported art all scattered about in the tile data. But don't fear, there's a clean easy way to get this in.
Now some people might disagree with my method, but *beep* them. If they want to see it done their way, write your own *beep* tutorial.
So right, where were we. We want to keep our new art neat and organized and not scattered about, so what we need is to create new tiles and put them at the end of the tile graphic data file. First, create a new bmp file sized 32x40 (or 40x40, I don't give a *beep* just make sure the dimensions are by multiples of 8) and using your palette, make 8x8 tiles like so. Or you can just steal this you lazy *beep*.
Nothing fancy, you just need something to makes it easy to distinguish one tile from another. Save your bmp file and now it's on to the next step.
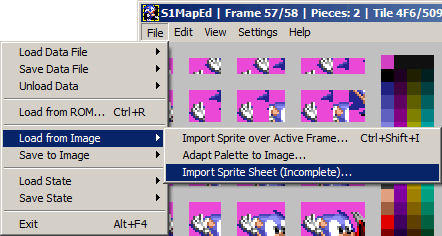
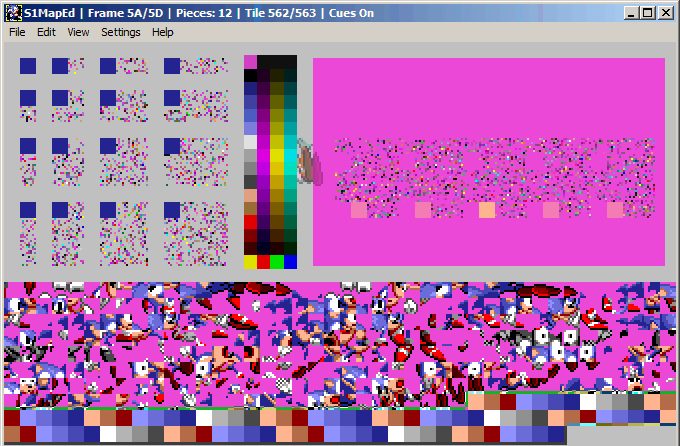
Go to File -> Load Image -> Import Sprite Sheet. The file browser window should pop up, now look for the bmp file you just saved and select it. Do this process five times for now. In the future, you'll probably need to do this way more, but for now lets just settle with this.
If you go all the way to the end of the sprite frame window, you'll notice these 5 blocks of *beep*. Delete these as they're unnecessary, what we want has been already done. Look at the bottom for our new sexy tiles that are ready to be used. Anywho, highlight the sprite frame you want to delete and press Ctrl+Del. Delete all of those garbage frames, but be sure not to accidentally delete the hurt frame either. Save your progress at this point in case you mess up later.
So you have some new empty tiles, but you have no idea how exactly to map them. Before we move on to that step, we need to know what to map. Graphics Gale makes the process easy as it has a grid mode that allows you to select different sizes, one of them being 8x8. However, if you're some sort of lazy *beep*, you can make your own grid in MSpaint, or again, just steal mine you prick. If your sprite is bigger than the grid below, just copy paste the grid to make it bigger.
So here we have our basic 8x8 grid. I picked colors that don't collide with our Sonic palette so we can just use the flood bucket tool on the sucker.
What we need to do next is paste our Terry sprite over this sucker and align it in the best possible way so that it uses the least amount of tiles possible. In this case, that's not possible. Moving on.
What we do next is flood fill all the tiles that Terry does occupy, and leave all the ones he doesn't alone. As you can tell from the image, the only tile he doesn't occupy is on the corner.
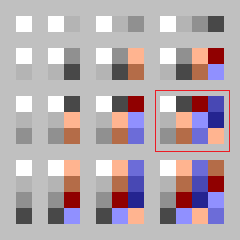
Here's our grid again, except this time without Terry to show how many tiles we're dealing with here. As you can see, the top row is 3 across, and all the other rows are 4 across. This is very important for you to know so you can map your stuff carefully. and don't end up with wasted tiles in the end. So now that we know what mappings Terry needs exactly, we can begin editing the mappings in Sonic.
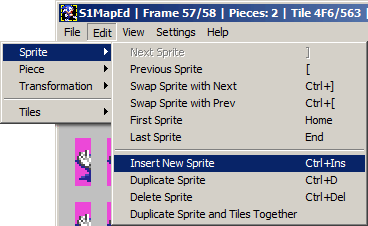
Again, we want to keep this as clean as possible, so instead of editing the stand frame directly, we're going to make a new sprite instead. You can insert the new sprite anywhere, but for now, lets just move it all the way to the end to keep things all tidy whitey.
Go to Edit -> Sprite -> Insert New Sprite or hit Ctrl+Ins to insert the new sprite.
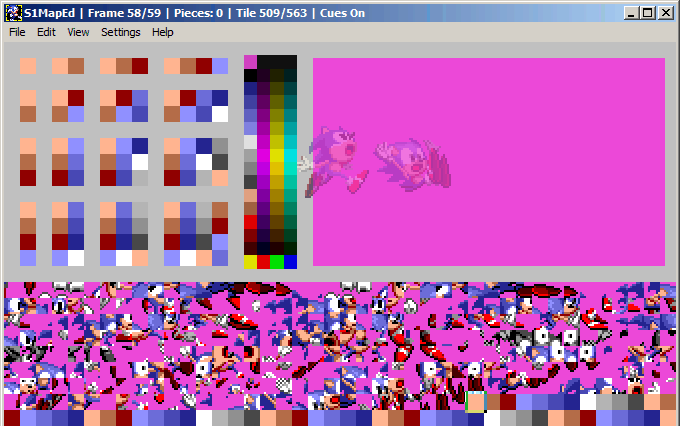
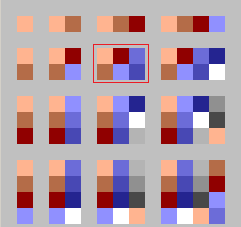
You'll notice that we'll end up with...well...nothing. This is good, now we can start mapping our guy. Now look over to the top left window. Remember this guy from the first tutorial? That's our mapping window, he's going to be helping us out! As you can see, there are several different sizes, and all of them are using our tiles. From the top left, you have the smallest piece to the bottom right, we have the biggest piece.
This is basically what they are, pieces. They all come in various sizes that you can combine together to make different shapes, those shapes being our sprite mappings. Now there are numerous combinations you can do to map the Terry sprite, but for now just follow my example.
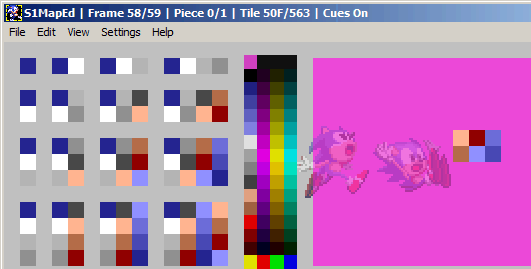
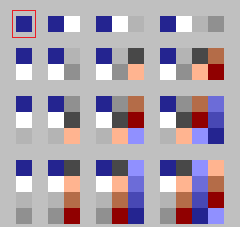
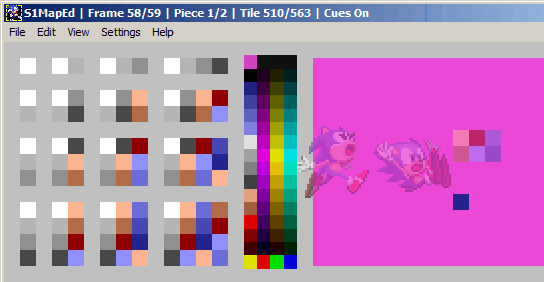
Also DO NOT FORGET that you have to select our unmapped tiles. Select the first of our unmapped tile in the tile window (the bottom one) like in the screenshot. This is very important or you might end up mapping the sprite with the wrong tiles and you'll just end up creating a bigger mess.
With that in mind, save your progress
If you remember, Terry occupied 3 spaces on top and left one blank and the next row was four. Now there's no option of 3 on the top row with 4 on the bottom row like that on here except 4 on the top row and 4 on the bottom, but that's going to end up wasting a valuable tile so instead, lets just go with the 2 x 3 mapping (the one in the red square). Click it and....
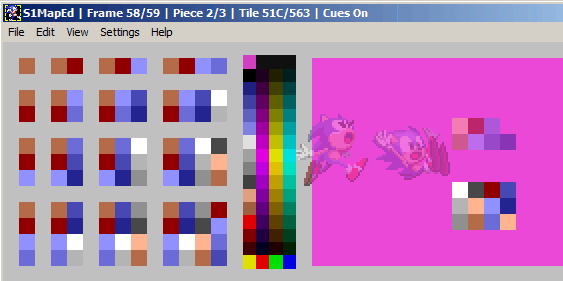
Presto, there's our tiles. For now, lets just leave it there. There goes our first two rows, but if you remember the second row had four spaces, not 3. So lets take care of that one.
Note: By default, SonMapED selects the next tile after the last mapped piece you placed, but in case you somehow messed up and looked at some other frames before finishing this, make sure that the next tile is unmapped.
Select our lone warrior here.
You'll notice that our lone warrior is cold and alone. This is a simple fix, just use the arrow keys to move our little buddy here next to his friends like so...
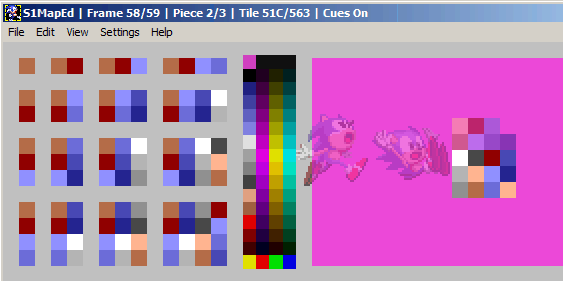
And that takes care of the first two rows.
What we have left is 3 x 4.
And looky looky, we have a mapping just that size! Aren't we in luck?
Place it
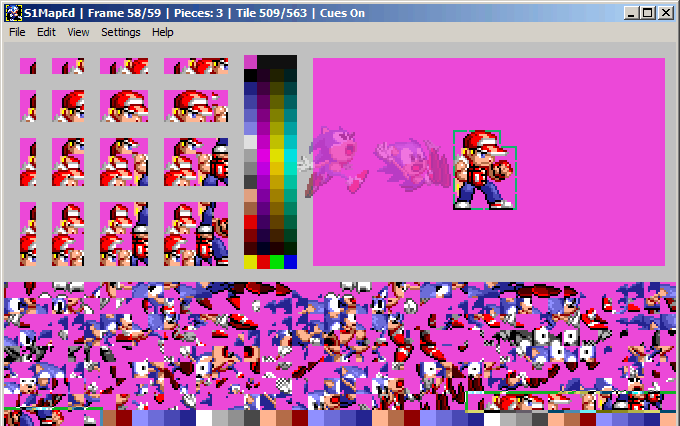
See?
Now we CAN import our sprite and it comes out just fine. The leg's there and everything. However, we're not done yet. We made a new sprite to replace Sonic's stand sprite, but we haven't really replaced it yet, nor have we properly aligned it. Move the sprite to the beginning of the file with Ctrl+[.
So now we moved it to the beginning of the file. As you can see, Terry is way below Sonic and he's off center as well. You can tell by simply hitting "[" and "]" back and forth and seeing how they don't match up. This is an extremely easy fix. Simply hold Shift and press the arrow keys to move the sprite pixel by pixel rather than the standard 8 pixels.
There we go, Terry now matches up height wise exactly like Sonic, and well enough width wise. With the sprite properly align, we can now delete Sonic's stand sprite.
Terry will now automatically take the slot and the sprite will be the stand one. Just as long as the Sprite Frame one reads 1/58. If you have any other number, you messed up.
Wooah boy, that was sure something wasn't it. This time we edited far more than just tile graphics, but the mappings and DPLCs as well. So what we're going to need to do is save everything we edited. Again, the uncompressed Sonic art is located in "artunc" as "Sonic.bin". The mappings is located in "_maps" as "Sonic.asm" and the DPLCs are located in "_inc" as "Sonic dynamic pattern load cues.asm". Save all of that, build your rom and you should end up with...
SUCCESS! If you didn't end up with that, you messed up.
Now just repeat the process again for all the other sprites. This shouldn't take you more than 5 minutes per frame if you already made a sheet.
Just a word of advice however. Although sharing tiles with sprite frames might seem like more of an annoyance, it's not. If you can manage to get your sprite to share tiles and still get it the way you want, I highly recommend you do it. Not only does it save space, but it makes stuff easier in the end if you do right.
Join us next time as we discuss the other features of SonMapED, how to score with a woman, and why you can't beat Bison in Street Fighter Alpha 3.


