Actions

SCHG How-to

S1 Split Guides/Basic Level Editing

From Sonic Retro

(Original guide by Qjimbo)

Now that you've set up the disassembly, you can get working on level design.

Creating a simple level layout edit

1. Run SonED2.exe
2. Click File, Open and browse to the Projects folder (C:\SonED2-1\s1h\SonED2 Projects)

We are going to edit Marble Zone:

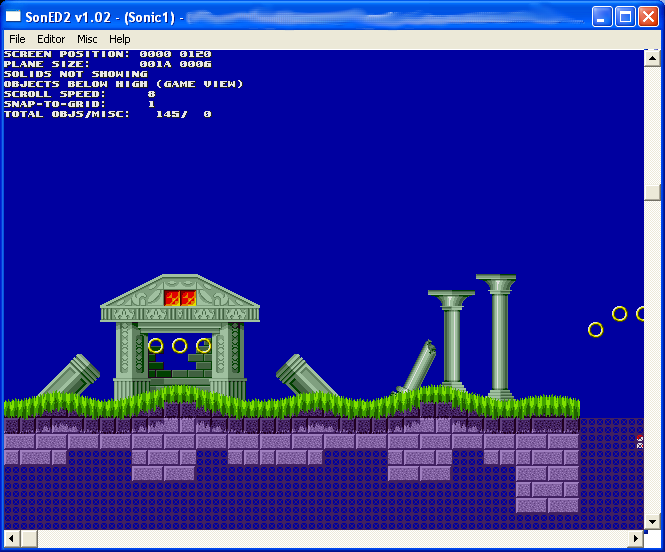
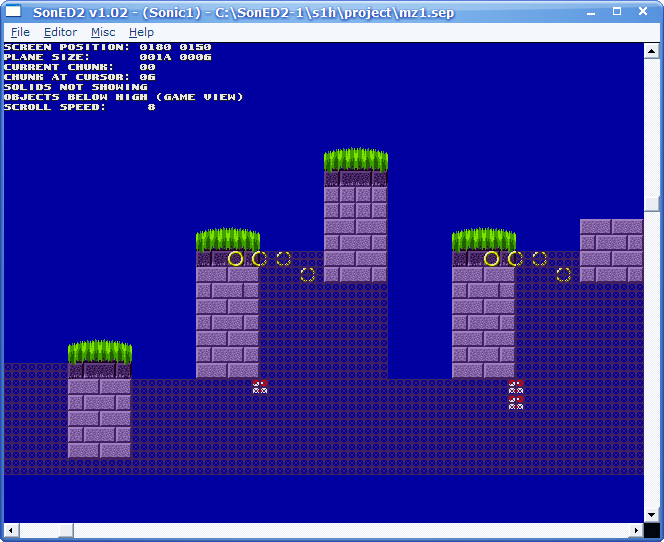
3. Choose mz1.sep and open it in SonED2. Scroll down and you should see this:

Soned-mz01.png


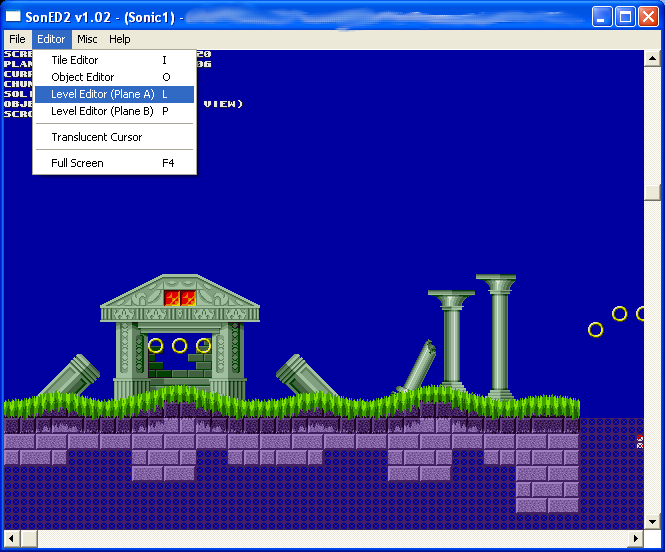
4. Select Editor -> Level Editor (Plane A).

Soned-mz02.png


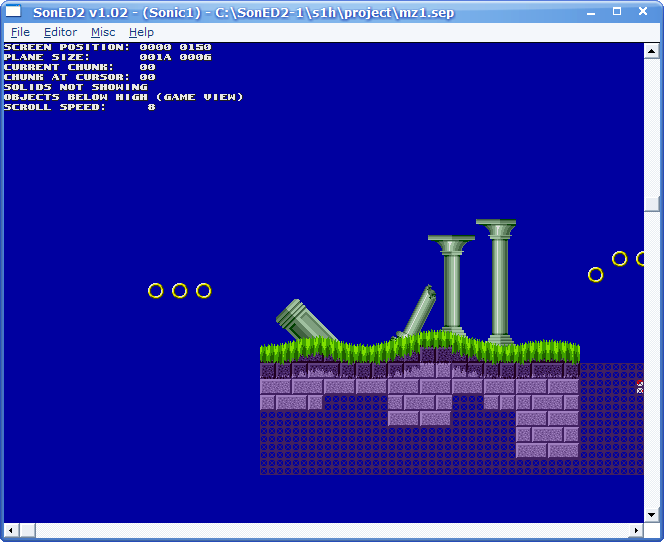
5. Now click on the temple. Poof! It's gone!

Soned-mz03.png


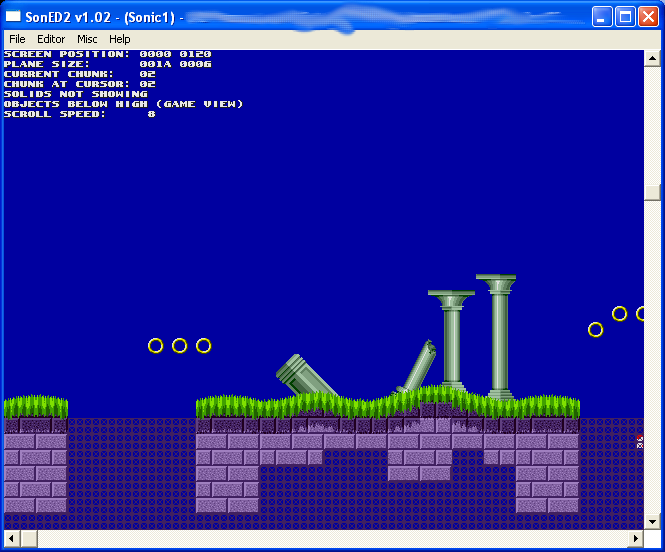
6. However it's easy enough to get back, just hit Z. What we're doing here is selecting what chunk we are editing. Chunks are premade level pieces, and rearranging them can lead to some interesting new level layouts fairly easily. You can select them simply by pressing A or Z to scroll back and forth through them, and click to place them.

Soned-mz04.gif


7. Try experimenting with chunks! Here I've created a weird hill. I have no idea what it will be like to play through though!

Soned-mz05.png


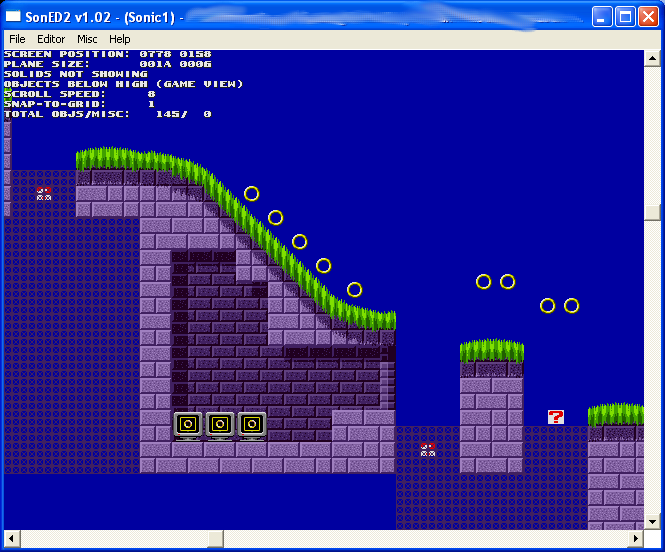
8. Now we move onto Object placement. Scroll to the right till you reach this section:

Soned-mz06.png


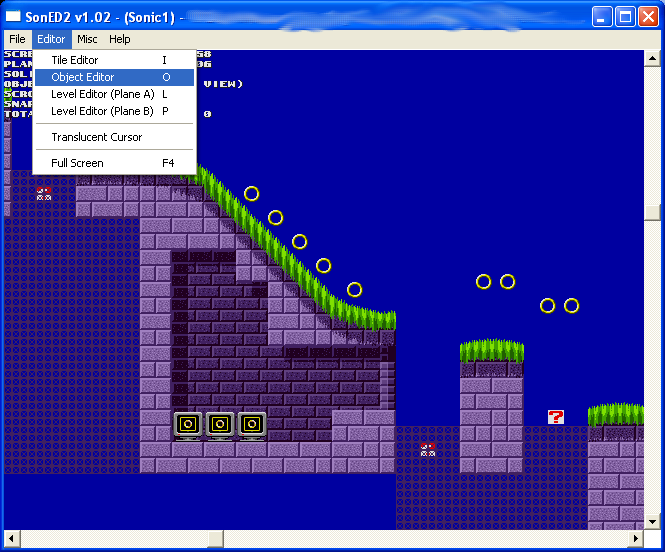
9. Select Object Editor from the Editor menu.

Soned-mz07.png


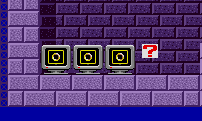
10. Now double left click in the space to the right of the ring boxes. a [?] object should appear.

Soned-mz08.png


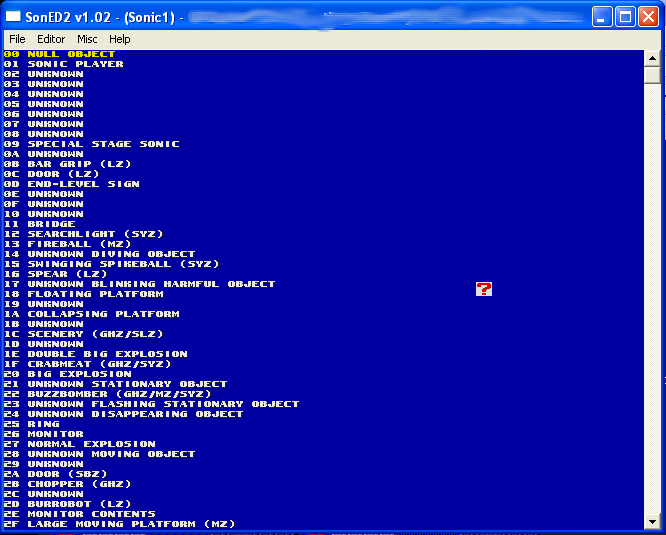
11. Now double left click on the [?] object. That should bring up this list:

Soned-mz09.png


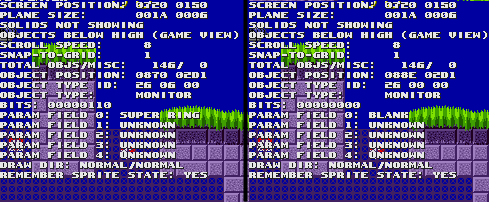
12. We're going to place a another monitor, so select "Monitor", and drag your monitor to line it up with the others. Now compare our Monitor with the other Ring boxes:

Soned-mz10.png


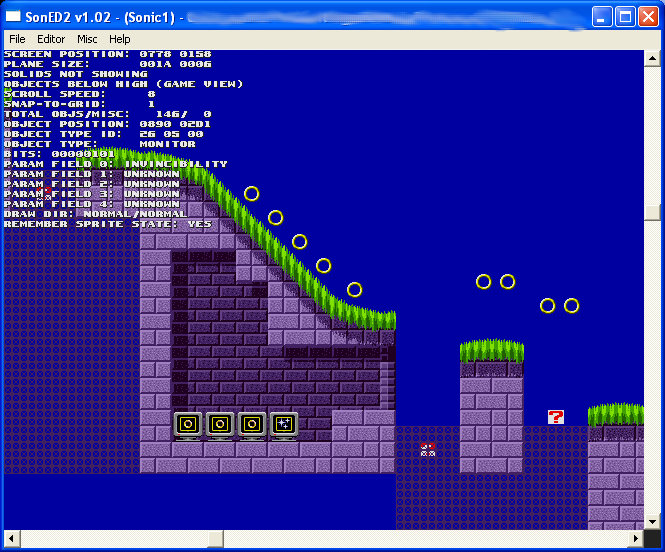
As you can see, we are going to have to change the Object type ID to "26 06 00". To do this, you hover over the box and use the S and X keys, this adjusts the Object "Property". You can also use the A and Z keys to select the object type. Select whichever type of box you want, I'm going to choose an invincibility powerup.

Soned-mz11.png


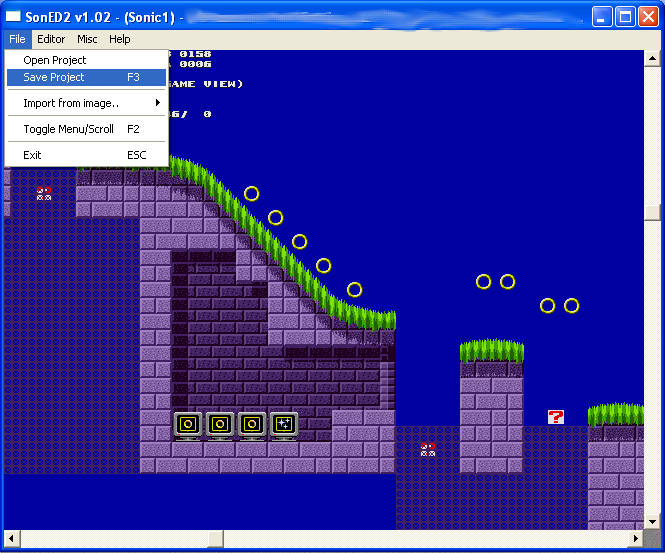
13. Now seems like a good time to stop and see whether what we've done actually works! Go to File -> Save Project.

Soned-mz12.png


14. Double click build.bat.

Soned-mz13.png


15. Then everything should assemble OK. Now open up the s1built ROM in your emulator of choice!

Soned-mz14.png


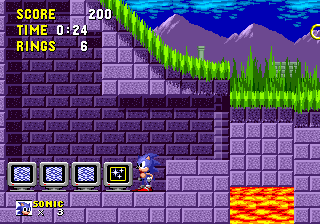
What you should see

SCHG S1 level editing.png

My weird level layouts are there, and so is the invincibility box!

SCHG How-To Guide: Sonic the Hedgehog (16-bit)
Fixing Bugs
Fix Demo Playback | Fix a Race Condition with Pattern Load Cues | Fix the SEGA Sound | Display the Press Start Button Text | Fix the Level Select Menu | Fix the Hidden Points Bug | Fix Accidental Deletion of Scattered Rings | Fix Ring Timers | Fix the Walk-Jump Bug | Correct Drowning Bugs | Fix the Death Boundary Bug | Fix the Camera Follow Bug | Fix Song Restoration Bugs | Fix the HUD Blinking | Fix the Level Select Graphics Bug | Fix a remember sprite related bug
Changing Design Choices
Change Spike Behavior | Collide with Water After Being Hurt | Fix Special Stage Jumping Physics | Improve the Fade In\Fade Out Progression Routines | Fix Scattered Rings' Underwater Physics | Remove the Speed Cap | Port the REV01 Background Effects | Port Sonic 2's Level Art Loader | Retain Rings Between Acts | Add Sonic 2 (Simon Wai Prototype) Level Select | Improve ObjectMove Subroutines | Port Sonic 2 Level Select
Adding Features
Add Spin Dash ( Part 1 (GitHub)/(Hivebrain) / Part 2 / Part 3 / Part 4 ) | Add Eggman Monitor | Add Super Sonic | Add the Air Roll
Sound Features
Expand the Sound Index | Play Different Songs Per Act | Port Sonic 2 Final Sound Driver | Port Sonic 3's Sound Driver | Port Flamewing's Sonic 3 & Knuckles Sound Driver | Change The SEGA Sound
Extending the Game
Load Chunks From ROM | Add Extra Characters | Make an Alternative Title Screen | Use Dynamic Tilesets | Make GHZ Load Alternate Art | Make Ending Load Alternate Art | Add a New Zone | Set Up the Goggle Monitor | Add New Moves | Add a Dynamic Collision System | Dynamic Special Stage Walls System | Extend Sprite Mappings and Art Limit | Enigma Credits | Use Dynamic Palettes
Miscellaneous
Convert the Hivebrain 2005 Disassembly to ASM68K
Split Disassembly Guides
Set Up a Split Disassembly | Basic Level Editing | Basic Art Editing | Basic ASM Editing (Spin Dash)

|S1 Split Guides/Basic Level Editing]]