Edit Sonic Adventure levels
From Sonic Retro
(Original guide by Polygon Jim)
Programs you will need:
- Cheat Engine
- Hex Workshop
Part 1 - Adding a Ring.
First thing we need to do, is decide what level we want to change.
For level IDs see SCHG:Sonic Adventure DX: PC
For this I am going to use Emerald Coast part 1 since I'm editing this level currently. First open up SADX, once you have done that go to the System folder (C:\Program Files\Sega\SONICADVENTUREDX\system). Right click on SET0100S.BIN (In my case its SET0100M.BIN) and click "Hex edit with Hex Workshop". Next go back to the game and bring Sonic into Emerald Coast.
Now we need to configure Hex Workshop so each line is one object. For this, go to Options - > Preferences Set the byte's row to 32 then click OK.
Go to the very bottom of the hex and hit Control+Insert and type in the number 20 into the box that says "Number of bytes" make sure hex is selected and hit ok.
You should now see a row of red 00s at the bottom. This is good, it means you did it correctly. (If you don't see the row of 00s start from the beginning, you must have forgotten something).
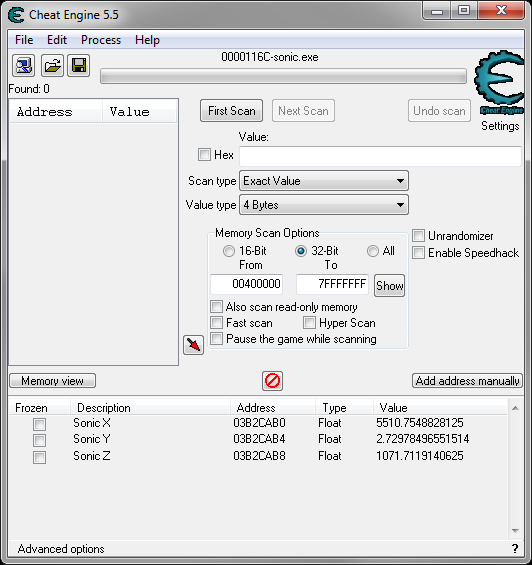
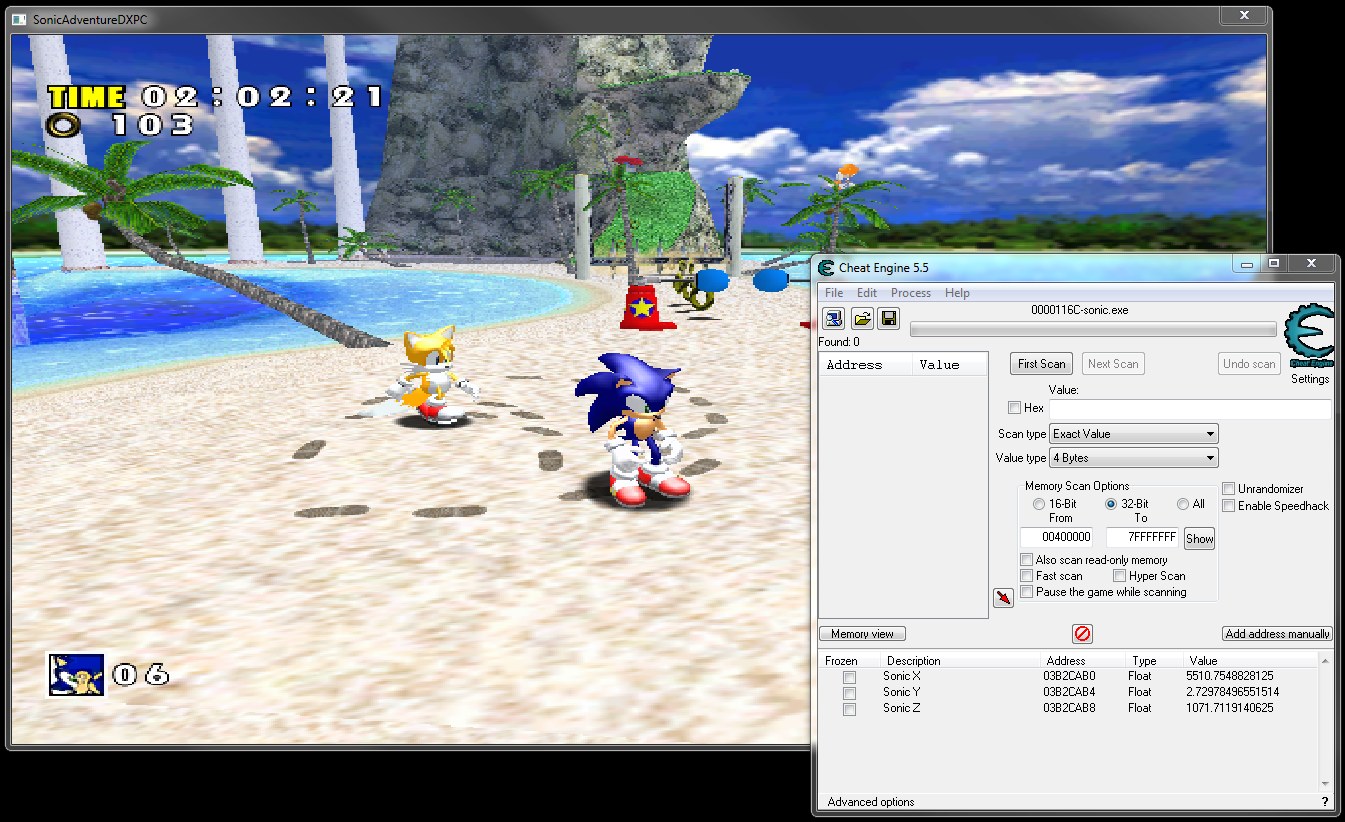
Alright open up Cheat Engine and enter the following addresses as floats. Sonic X - 03B2CAB0 Sonic Y - 03B2CAB4 Sonic Z - 03B2CAB8 (Save this cheat table for further use on other levels)
Go to the location you want to add an object, in my case I'm going to add a ring.
Look at the 3 numbers cheat engine is giving you now. Go back to Hex Workshop and that red line of zeros.
Insert the X,Y, and Z values from cheat engine in the spots I show in the pictures as floats.
Save the file. (Make sure to make a backup!!!)
Now quit the level and come back (restart will not help).
"Hey there's nothing there?? did you try to trick me?" No I didn't go back to hex workshop and go to the very top line, and change the numbers to what I have shown in the picture. (Note your number will be lower as I have added items to mine already)
Now save and go back to the spot, and "HOLY CRAP A RING!" "Wait it's sunken in the ground"
To fix this go back to the Y value and add 5-10 to the float. Go back and it should be perfect.
Part 2 - Rotation, and other objects.
Now that we've added a ring or two we should have gotten the hang off this, and should be able to place rings with ease, but now don't you want to add other objects?
Programs you will need:
- Sonic Adventure DX PC
- Cheat Engine
- Hex Workshop
(There's no pictures this time as it's pretty self explanatory. If there's questions about this, I may end up getting some).
First off we go to the place where we want to add the object just like before. We then do all the steps we did in Part 1. After doing all of the steps in part 1, go to were you placed the item. "Well there's and item here, but it's a ring, not what I wanted!" Well now comes the fun part. Highlight the first 00 and change the sign byte to a random number, lets say... 67, which is a whale if you're in Emerald Coast. Just keep going through numbers until you find what you want as there's no real list. I am compiling one though, and will probably post them here as I work on it.
Save the file (Backup remember!) and go to were you wanted to place the item. "Hey there's a whale there cool!" Success, but what if you wanted it to face the other way? That's where rotation comes in. The 3rd and 4th bytes are x rotation, 5th and 6th bytes are y rotation, and 7th and 8th bytes are z rotation. Change the signed byte to a number between -127 to 127.(127 is the maximum number that there can be, it doesn't go on a 360 circle like normal rotation). Alright, change the number, save, and go back.
Have fun, hope my guide helped.


